UPS Battery Installation Guide
23 May 2025
Share this article:

In environments like hospitals, manufacturing facilities, or data centers, power backup keeps systems online and prevents equipment or data from being compromised. UPS systems are the first line of defense, keeping systems powered long enough to prevent bigger problems. Most facility teams count on them daily, whether to smooth out voltage spikes or carry the load until generators come online.
But even the most advanced UPS is only as dependable as the batteries inside it. These batteries take the brunt of every outage, and over time, their performance fades. That decline isn’t always obvious… until the moment they’re needed most.
Proper battery installation helps extend performance, reduce surprise failures, and protect the investment made in power continuity. Done right, it also simplifies maintenance, supports clean service records, and keeps warranties intact.
When Should You Replace a UPS Battery?
UPS batteries typically last between three to five years, but several factors can shorten that window, like ambient temperature, load levels, and charge cycles. Preventive replacement based on manufacturer guidelines or real-world performance testing helps avoid unexpected downtime. And rather than waiting for a failure, facility teams should track battery age and monitor performance indicators regularly.
Warning signs for battery degradation include reduced runtime during outages, alarms from the UPS unit, or visible swelling or corrosion on the batteries themselves. For high-demand facilities, it’s common to schedule replacements at the three-year mark to stay ahead of degradation. Routine load tests and visual inspections during scheduled maintenance can also reveal early signs of wear.
If batteries are nearing the end of their rated lifespan or failing performance checks, it’s time to plan a replacement. Delaying can risk system failure during an outage, when performance matters most.
Preparing for UPS Battery Installation
Before swapping out UPS batteries, take time to plan. Skipping preparation often leads to delays, safety risks, or compatibility issues. A smooth installation starts with reviewing the current system setup, understanding power requirements, and confirming the right parts are on hand.
Assessing Your Power Needs
Start by reviewing load requirements and runtime expectations. The number of connected devices, their power draw, and how long you need backup coverage all factor into battery sizing. If any equipment has been added or removed since the last battery cycle, it’s worth recalculating. Underestimating power needs can reduce runtime. Overcompensating can waste budget.
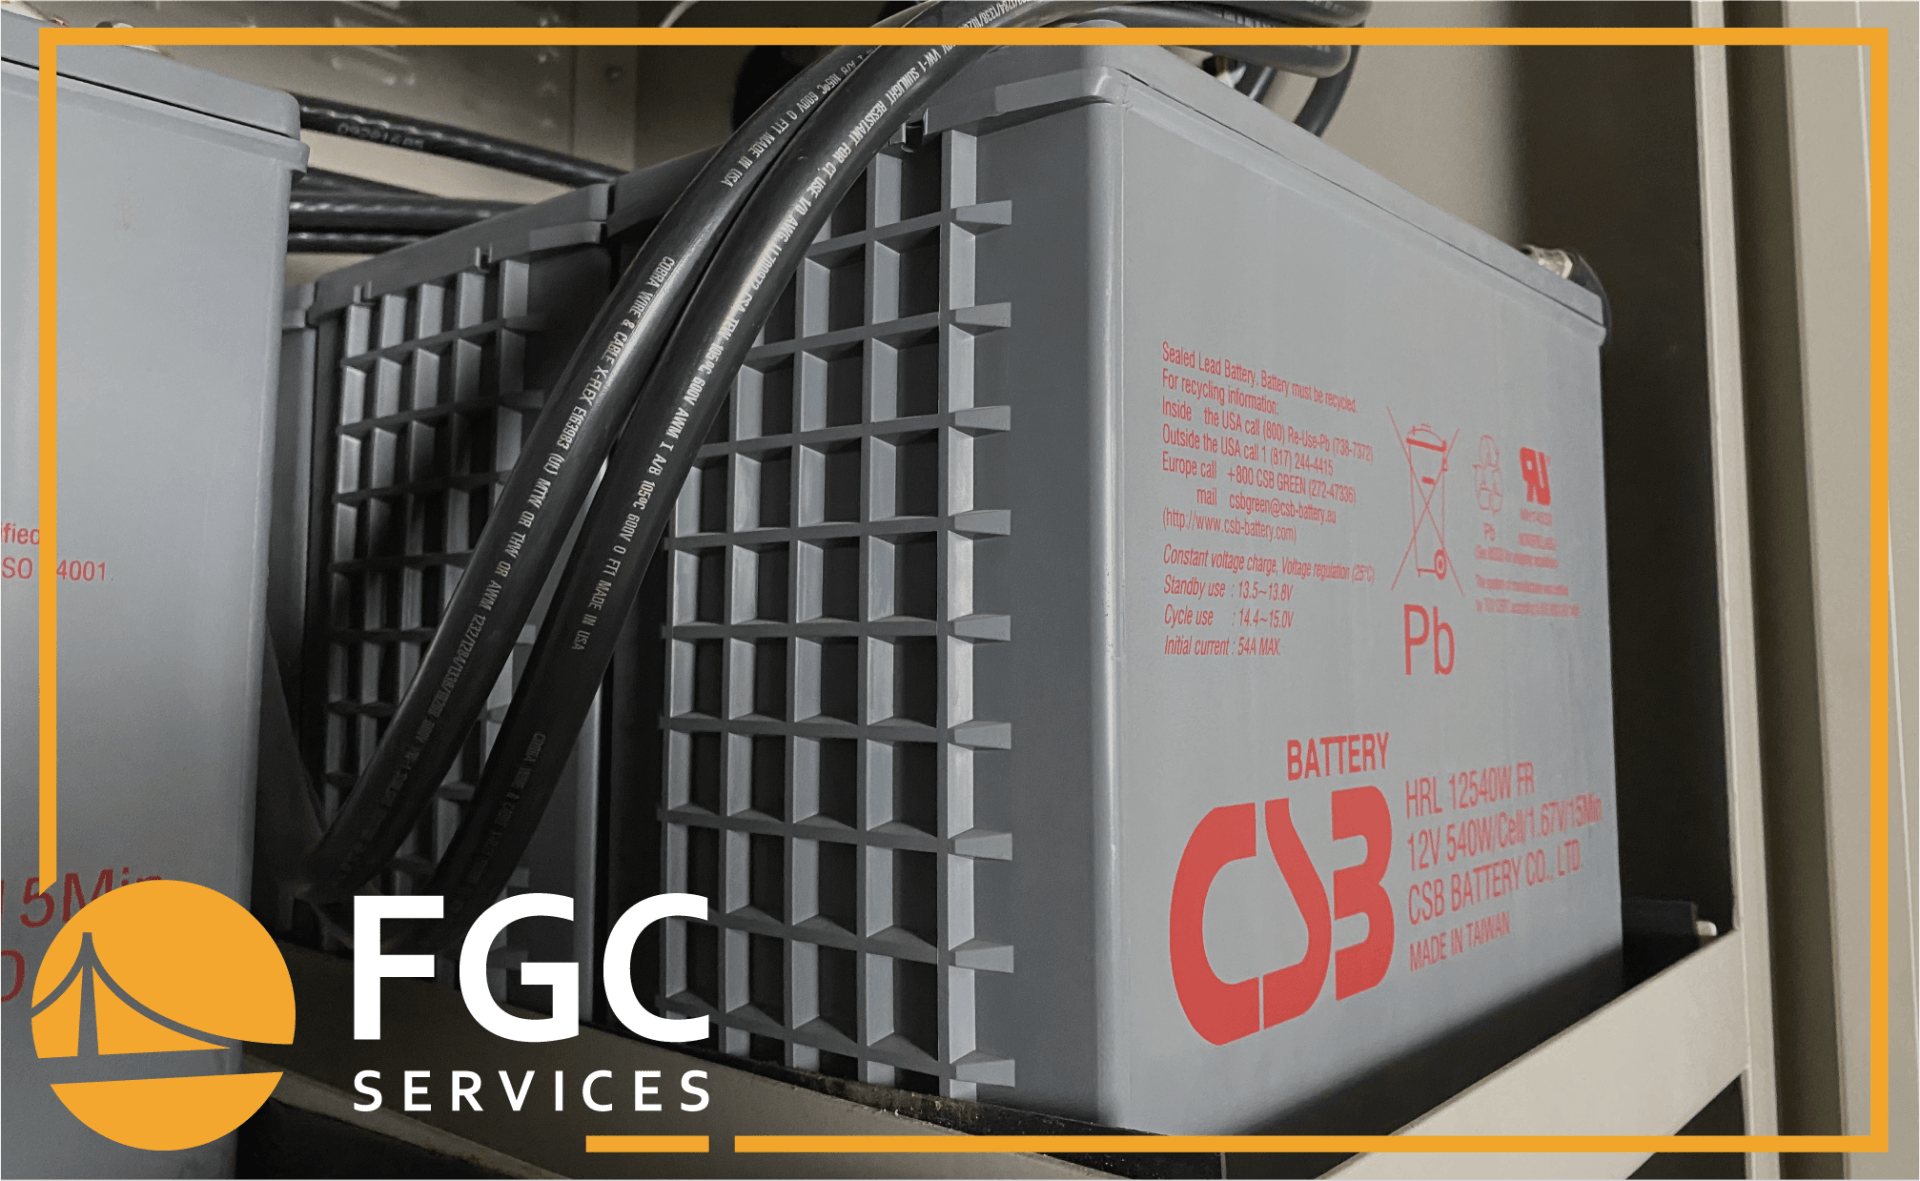
Choosing the Right UPS Battery
Not all UPS batteries are the same. Check voltage, capacity, connector type, and form factor. Cross-reference the model against the manufacturer’s spec sheet, and confirm it matches your UPS system’s configuration.
Take Safety Precautions
Wear PPE, disconnect power sources, and work in a well-ventilated area. Keep fire extinguishers nearby and follow lockout/tagout procedures if required. When teams have a solid plan in place, the install moves faster and avoids surprises.
Step-By-Step New UPS Battery Installation Process
Replacing UPS batteries isn't complicated, but it does require attention to detail. Following a consistent process helps prevent errors, protects equipment, and ensures the system performs as expected after the swap.
Step 1: Power Down and Disconnect the UPS
Start by shutting down connected equipment in a controlled manner. Once everything is safely powered off, disconnect the UPS from any input power sources. Use lockout/tagout procedures where applicable to prevent accidental re-energizing.
Step 2: Remove the Old Battery (If Applicable)
If you're
replacing existing batteries, unfasten any mounting hardware and carefully disconnect the terminals. Some systems may have multiple battery blocks wired in series; take note of their arrangement for proper reinstallation.
Step 3: Install New Batteries
Place the new batteries in position, following the same configuration as the original setup. Secure each battery firmly and connect all terminals according to the manufacturer’s wiring schematic. Check for tight, clean connections to avoid voltage drops or poor performance.
Step 4: Reconnect and Test the UPS
Reconnect the input power and allow the UPS to initialize. Run a self-test or manual load test to confirm proper operation and charge function.
Step 5: Perform a Final Inspection
Check for loose connections, signs of heat, or error messages. Document the installation and update maintenance records for future reference.
Common Installation Issues and Troubleshooting
Even a straightforward battery installation can run into problems if a few key details are missed. Spotting and addressing these issues early helps prevent downtime and avoids repeat service calls.
Here are some common issues to watch for:
- Loose or corroded terminals – Can lead to poor power transfer or unexpected shutdowns. Always clean and tighten connections.
- Incorrect battery placement or orientation – May cause overheating or short circuits. Follow the unit’s exact layout requirements.
- Mismatched battery types or voltages – Using the wrong battery can damage the UPS or cause performance drops.
- Incomplete or skipped startup testing – Failing to test the system after installation leaves room for undetected problems.
- Failure to document the installation – Missing records can delay future maintenance and void warranties.
Addressing these issues during or immediately after installation helps maintain reliability and extends battery service life.
Why Professional UPS Battery Installation Matters
Installing UPS batteries may seem like a routine task, but mistakes can lead to equipment failures, shortened battery life, or warranty issues. Professional technicians bring more than just technical skill, they know how to identify potential problems before they cause downtime. They are also trained to follow manufacturer specifications, use the correct tools, and ensure the system is properly tested and documented after installation.
Certified installers also understand the safety risks involved. Improper handling of battery terminals or wiring can result in short circuits or even fire hazards. A specialized technician works quickly and safely, reducing the risk of injury or system damage.
For facility managers, working with professionals means less guesswork, fewer repeat issues, and more reliable long-term performance. It also provides peace of mind, knowing the job was done right the first time.
FGC Provides UPS Installation Services Nationwide
UPS battery installation plays a direct role in system performance, service continuity, and equipment protection. When batteries are installed correctly, systems stay reliable, warranties stay protected, and service becomes easier to manage. But when shortcuts are taken, even a well-built UPS can become a liability.
Facility Gateway Corporation provides UPS battery installation services across the country, backed by experienced technicians who understand both the technical details and the operational demands of high-uptime facilities. From selecting compatible batteries to completing full-function tests, our team handles the work efficiently and in line with industry best practices.
We support a wide range of industries, including healthcare, education, manufacturing, and IT. If you’re planning a battery replacement or need support across multiple locations, our team is ready to help.
Contact FGC today to schedule service or request a quote.
Connect with Us:
More Industry-Leading Insights